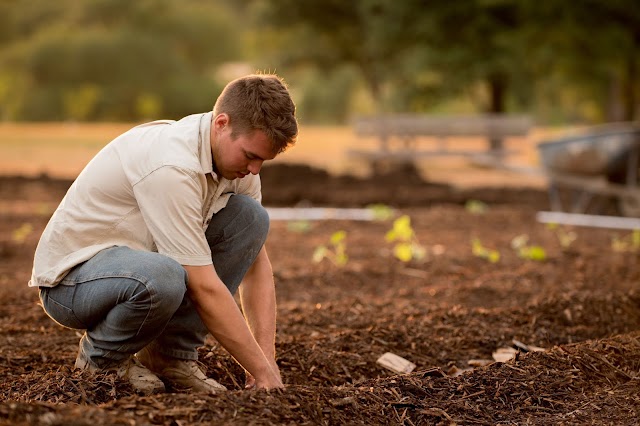
Healthy garden soil will have many, if not all, of the following properties,
1. Mineralparticles (sand particles are largest, silt is medium sized, clay is the smallest or finest) are the “bones” of the soil; Good soil, or “loamy” soil, has at least two or all three sizes of these particles. They come originally from rock.
2. Organic matter is once-living matter (like plants, animals, insects, animal waste) in various stages of decomposition.
3. Biota (bacteria, fungi, protazoa, mites, worms, ants, etc) are living organisms that decompose organic matter. This converts nutrients into forms that are accessible to plants. Larger organisms like worms also create space in the soil.
4. Porosity is the presence of pores/spaces made by roots and biota, which allows for water and nutrients to reach roots and for roots to grow
5. Structure describes how the soil particles are arranged relative to each other (do they bind closely?) and partially determines porosity of the soil.
6. Drainage is how readily water seeps down through the soil; it is determined by the soil’s mineral makeup, structure, and management. It is closely related to porosity.
Soil tests to determine componets and Properties,
1. Touch Test - Feel the soil, dry and wet. When dry, does it crumble easily? If not, it may be compacted or have a lot of fine clay particles. If it’s powdery or feels like sand it is likely lacking organic matter. Take a small handful, wet it and rub a little between your fingers. Now squeeze the soil into a ball. Sandy soils feel gritty. Silty soils feel slippery. Clay soils feels slippery and sticky. A good mixed soil will form a ball, but not easily form a ribbon shape when squeezed between thumb and forefinger. A clay soil will easily form a ribbon about 2 inches long and hold the shape, but a very sandy soil will not form a ball or ribbon.
2. Shake Test - Place a cup of your garden soil in a clean quart glass jar and fill up to ¾ full with water. Label the jar to indicate from where in your garden space the soil came. Shake well, then let it sit for several hours or ideally overnight. The particles will separate into layers. Observe the proportions of sand (bottom), silt (middle), and clay (top). While most soils in their natural proportions will need amendment, this test will give you a good sense of what type of soil lies beneath your garden and how well it will drain.
3. Test Kits: You can test soil with a soil nutrient test kit, a kit typically under $10 and commonly available at nurseries and home improvement stores. With this you can test the soil’s pH and its nitrogen, phosphorus, and potassium (NPK) content. These are the primary macronutrients needed by plants. They are the elements that plants use most for their growth, so knowing the content of those elements in the soil and the soil’s pH will help you predict how plants will grow.
4. Other Soil Tests: There are places to send soil samples for more rigorous testing to determine its micronutrient levels or to test for soil contaminants. If you are concerned about your garden site’s past history, or especially if it was used for a commercial or industrial activity, it is worth testing to determine if your garden soil has contaminants like lead or mercury.
Soil Building and Preparing for Planting,
Soil amendments help create healthier soil by improving soil nutrients, soil texture, and/or porosity which, in turn, promotes good plant growth. How you prepare for planting can also impact soil health. The results of soil testing will help you best determine how to amend your soil.
Soil Amendments,
1. Compost is an amendment of decomposed organic matter, which, when mixed into your soil adds nutrients, food for biota, good texture, water-holding capacity, and more (see below for compost lesson). Worm castings and/or tea- castings are a specific form of compost created by earthworms, which are rich with balanced nutrients. The liquid created naturally by worm composting can be added as an excellent amendment to your garden.
2. Organic fertilizers are amendments that are natural substances with relatively high levels of nutrients. Examples are kelp, fish emulsion, bloodmeal and manure. You can buy these premixed or separately at many garden stores. When using organic fertilizers of any kind, it is very important to not over-apply the fertilizer; apply only as directed by the package or your source. Plants will not use extra fertilizer that is applied. Instead, the excess will be shed into the environment, potentially contaminating air, streams, rivers, stormwater run-off, and the ocean with nutrient pollution.
3. Cover crops such as fava beans, vetch, rye grass, and clover are grown specifically to enrich the soil rather than to eat. Cover crops do one or more of the following: increase soil nutrients and organic matter, prevent soil erosion, send down deep roots to break up compacted soil layers or suppress weeds. For some N fixers like legumes it is recommended that before they set seed, you either harvest and compost or cut them down and till into the soil where they will break down over time. They will then eventually provide nutrients to your food crops. Legumes, such as clover and fava beans, “fix” nitrogen in the soil through a symbiotic relationship between the plants’ roots and a type of bacteria (Rhizobia), that converts atmospheric nitrogen into a form that is useable to the plant. In return, the bacteria receive sugars from the plant. See appendix “Cover Crops” for more information on this process and how and why to use cover crops.
4. Mulching involves adding organic materials on top of the soil that break down over time to increase soil organic matter. Straw, woodchips, sawdust, tree bark, or shredded leaves can be used in mulching. Mulching serves an important role in protecting topsoil from erosion, suppressing weeds, keeping soil cool, and preserving soil moisture by slowing down evaporation. Mulches should stay on top of the soil because many of them are mostly carbon and they can tie up soil nitrogen when they decompose in the soil, thus making the nitrogen less available for plants.
Soil Preparation for Planting,
One common preparation for an in-ground bed is double digging, described below. However, you might also decide to use a rototiller, especially for heavy soils, or to use a “no-till” approach. No-till minimizes soil disturbance, preserving existing organisms, and amendments are added on top rather than digging them in. Sheet mulching is a form of no-till, using layers of organic materials to create the bed.
1. Double digging is a technique to build a raised bed, loosen the soil and add amendments. It is used to create new, in-ground beds. To make a double-dug bed, dig a trench 1’ deep and 1’ wide across the width (no greater than 4 feet) of the bed, setting the dug soil aside but nearby. Plunge a pitchfork 1’ deeper in the trench and rock back and forth, loosening the soil. You can also add some compost at this point. Dig a second trench behind the first, and put excavated dirt into the first trench, filling it in. Pitchfork the second trench.
2. Sheet Mulching: You can use a technique called “sheet mulching” or “composting in place.” It is a “no-till” method to enrich soil in your garden bed by laying down the components of compost to create your garden bed. Also called “lasagna” beds, this technique conserves water, moderates soil temperature and suppresses weeds in addition to amending your soil. For more complete detail and a recipe for “sheet mulching”, see the appendix by Elevitch and Wilkinson called, “Sheet Mulching : Greater Plant and Soil Health for Less Work.”


